Interaction with website visitors whether it is your corporate website or personal blog is an essential part of online business nowadays. HelpOnClick live chat software allows real time communication between blog readers and authors via chat application.
Live chat features allow users contact particular authors when they are online and authors can monitor traffic in real time. Authors can establish more personal relations with their readers, get a better feedback and discuss topics online.
HelpOnClick provides a set of useful tools for online chat. Authors can access chat interface via web, desktop or mobile applications. Real time traffic monitoring allows seeing who is reading your articles, and push invitations help to engage readers into chat.
How to add live chat to your Blogger account
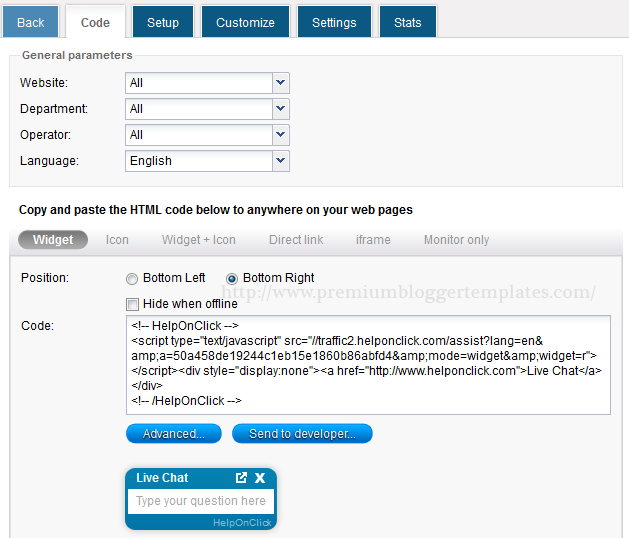
1. Log into your HelpOnClick Admin Panel
2. Go to Admin > Code
3. Select your desired options then copy the generated code.
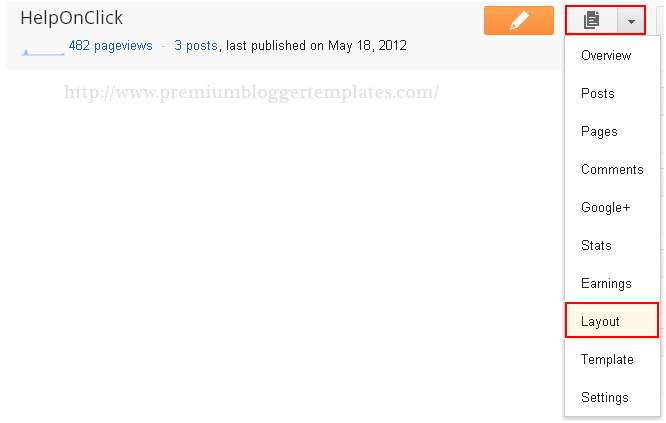
4. Log into your Blogger Dashboard.
5. Click the menu button, next to the blog on which you want to use Live Chat, then select "Layout."
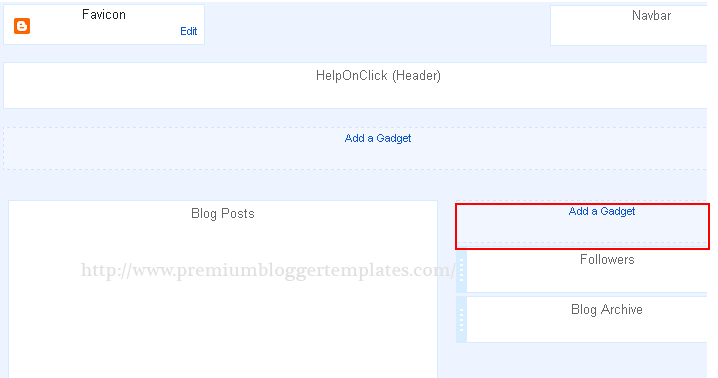
6. In the Layout Screen, choose an area of your blog where you would like to add the code, and then click "Add a Gadget". If you will be using an icon or a text link, the gadget’s location will determine the location of your chat link or icon. The floating widget’s position stays unchanged, at the bottom of your website.
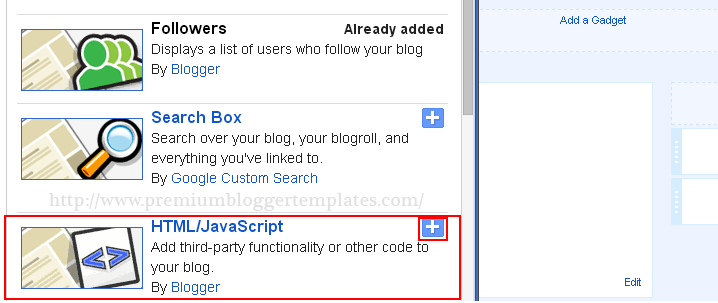
7. In the pop-up window, scroll down to the "HTML/Javascript" option and click the + sign.
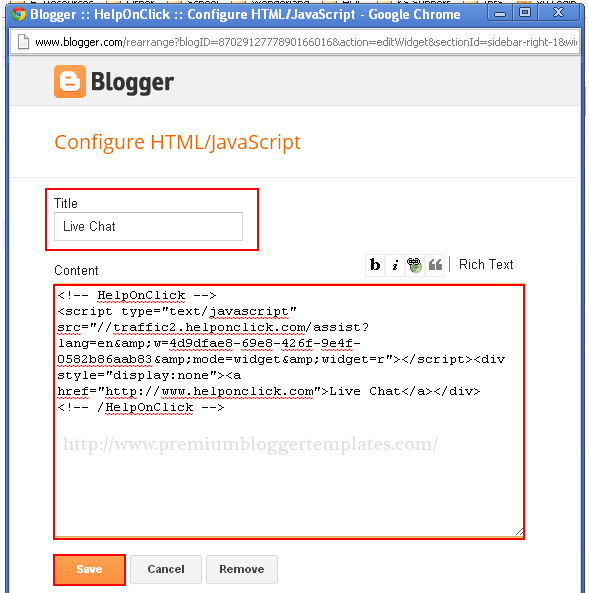
8. Add a title if you want to – the title will be displayed as text on your Blogger site, if you just want to use the chat widget, icon or link, you can choose not to add a title, just the code. Now paste the HelpOnClick code inside the Content box and click "Save".
9. That’s all! Your Live Chat is now installed and ready to use.
